Heated flooring systems, or radiant floor heating, offer a luxurious and indulgent way to keep your home warm. Perfect for chilly mornings and cold winters, these systems can be installed in bathrooms, kitchens, basements, and even entire homes. This guide will walk you through the installation process, compatible flooring materials, and the energy efficiency benefits of radiant floor heating, ensuring you feel pampered and comfortable in your home.
What Is Radiant Floor Heating?
Radiant floor heating warms floors from below. It uses electric coils or water-heated tubing to distribute heat evenly across the surface. This type of heating eliminates cold spots, reduces reliance on traditional heating systems, and creates a cozy atmosphere underfoot.
Step-by-Step Guide to Installing Heated Flooring Systems
Choose the Right System
There are two main types of radiant floor heating:
- Electric Systems: These use electric cables or mats to generate heat. They are easier to install and are ideal for smaller areas like bathrooms.
- Hydronic Systems use water-filled tubes heated by a boiler. They are more energy-efficient and cost-effective for larger areas or whole-house installations.
Determine which system suits your space, budget, and energy efficiency needs.
Gather Materials and Tools
Before starting, make sure you have the following:
- Heating system (electric mat or hydronic tubing)
- Insulation boards
- Thinset mortar or self-leveling compound
- Compatible flooring materials (e.g., tile, engineered wood, laminate)
- Thermostat and wiring tools
- Trowel, utility knife, and tape measure
- Hammer and nails for subfloor adjustments
Prepare the Subfloor
A well-prepared subfloor ensures optimal heat distribution and system longevity.
- Clean the Surface: Remove debris, dust, and any existing flooring adhesive.
- Level the Subfloor: Use a self-leveling compound to fix any uneven areas.
- Add Insulation: Install insulation boards to reduce heat loss and improve efficiency.
- Lay the Heating System
- For Electric Systems: Roll out the heating mats or position the cables according to the manufacturer’s instructions. Secure them with adhesive or tape.
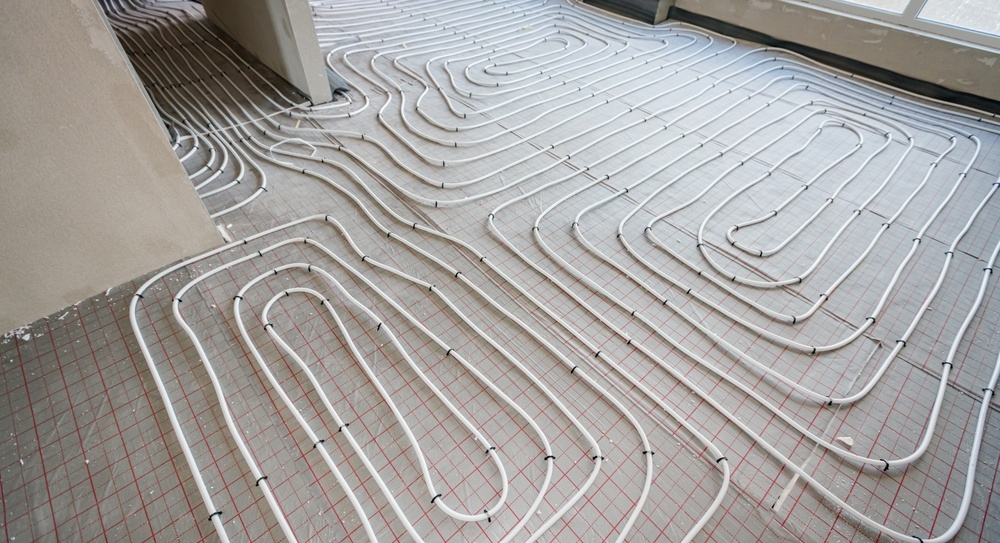
- For Hydronic Systems: Lay the tubing in a serpentine or spiral pattern. Ensure the pipes are securely clipped to the subfloor or mesh framework.
Connect the Thermostat
- Install the thermostat in a nearby wall and connect it to the power source.
- Run wiring from the heating system to the thermostat. Ensure all connections are secure and follow the manufacturer’s instructions.
- Test the System
Before covering the heating system, test it to ensure it functions properly. This step prevents the need for costly repairs later.
Install the Flooring
Choose a flooring material compatible with radiant heating, such as:
- Tile and Stone: Excellent heat conductors that are highly durable.
- Engineered Wood: Performs well under heat but requires careful installation to prevent warping.
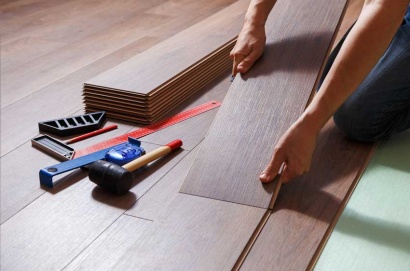
- Laminate: Heat-friendly and cost-effective, but ensure it is rated for radiant heating.
- Vinyl: Flexible and durable, but check for heat compatibility with the manufacturer.
Spread thin-set mortar or an appropriate adhesive over the heating system and install the flooring. Use a trowel for even application.
Finalize and Test Again
Once the flooring is in place, test the system again to confirm functionality. Set the thermostat to a comfortable temperature and enjoy the warmth.
Energy Efficiency Benefits of Radiant Floor Heating
- Even Heat Distribution: Radiant floor heating warms a room evenly from the ground up, reducing cold spots and improving overall comfort.
- Lower Energy Usage: Compared to traditional heating systems, radiant heating can operate at lower temperatures while achieving the same level of warmth, reducing energy consumption.
- Zonal Heating: Many systems allow you to heat specific rooms independently, avoiding energy waste in unused spaces.
- Improved Air Quality: Radiant heating does not circulate air like forced-air systems, reducing dust and allergens in your home.
Maintenance Tips for Radiant Flooring Systems
To keep your system running efficiently:
- Inspect and clean the thermostat periodically.
- Check for leaks in hydronic systems and ensure pumps and valves are functioning correctly.
- Avoid using abrasive cleaners or heavy furniture that could damage the flooring.
Conclusion
Installing a heated flooring system is an excellent DIY project that adds comfort and value to your home. By following this guide, you can achieve a professional-quality installation and enjoy the energy-efficient benefits of radiant floor heating. Whether in a cozy bathroom or a spacious living room, heated floors provide warmth and luxury that will enhance your home for years.


