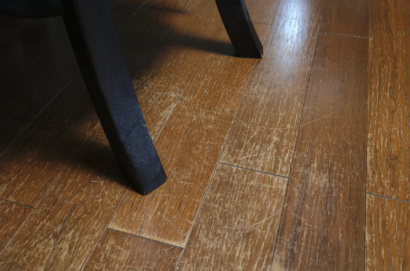
It’s practical, beautiful and can blend with any style—these are just some of the reasons that hardwood flooring is a great option for many homes. But as it ages, this type of flooring can also show visible signs of wear and tear including scratches, chips and stains that make it old and dated.
The good thing is that hardwood flooring can take up to 12 sanding and refinishing jobs throughout its lifetime.
So, if you don’t want to go through the hassle and expense of getting brand new flooring, you can opt to have your hardwood floors refinished instead.
The Hardwood Flooring Refinishing Process
Clear the room and clean the floor.
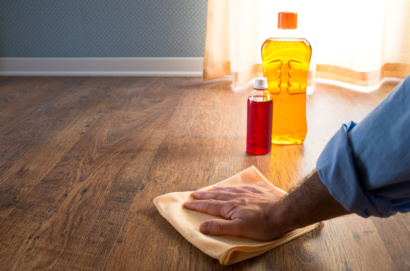
You don’t want a lot of sand in your furniture, so it’s best to clear the room of anything before refinishing it. Then, you can start by completely cleaning the floor’s surface using a DIY cleaning solution made with 10 parts water to 1 part white vinegar. Wipe the floor with a mop or towel and make sure to close the windows and doors to keep the dust inside once you begin sanding.
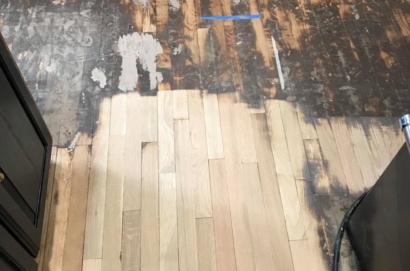
Sand the perimeter first.
Before you start using the walk-behind sander you rented, sand the perimeter of the room using a 180-grit sandpaper first. This will help you make sure that every inch of the floor is properly sanded.
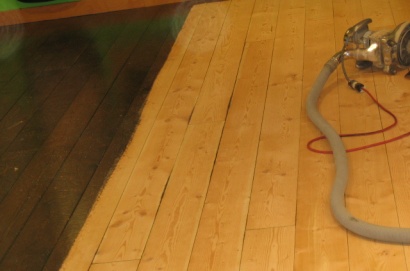
Sand the rest of the floor.
Put on a dust mask and start sanding the rest of the floor using the walk-behind sander in a side-to-side motion following the direction of the grain. You’ll know that you’ve sanded the floor enough because the old finish will turn to powder.
Vacuum and tack the floor.
After covering the entire area, let the powder settle for at least 10 minutes before using the built-in vacuum of your sander. Work in the direction of the flooring strips before going across to remove any dust that has settle in between the boards. Use a microfiber cloth to dry-tack the floor after.
Apply the first two coats of finish.
You can choose from polyurethane, varnish or penetrating sealer for refinishing your floor. Start by using a brush to coat the hard-to-reach areas of your floor. You can the move on to the rest of the floor by using a long-handed roller. Coat the floor in line with the grain before going across to make sure every inch is finished properly. Cover as much as you can in 10 minutes and let the area dry. Once you’ve finished the entire surface, leave the room for three hours to allow the first two coatings to settle.
Finish with the final coat.
Follow the same techniques in applying your final coat and wait at least 24 hours before moving furniture back into the room.
Sanding and refinishing hardwood flooring is a practical solution to dated floors. Instead of spending a lot on new flooring, you’ll just need to spend on the finishing and the rental cost for the sander, which is a lot cheaper.
Why Choose Us?
Our expert flooring solutions give you the best possible experience with no surprises except for a gorgeous new floor!
We want to ensure your investment into your new floors with us remains as just that—an investment—which is why we guarantee our flooring installations.
Our estimates are complimentary, detailed, and no-obligation. Whether or not you choose to move forward with us, we provide an in-person consultation to listen to your needs and talk with you about your flooring options.